Facebook Marketing for Small Business 101: The Boosted Post

Here’s the dirty little secret- a boosted post is basically a Facebook ad, but easier. It lets you put your best social media content to work reaching out beyond your existing audience without ever having to run through the ad-making process. You never even have to leave your page.
We’ve laid out the steps here to get you started. This process assumes you already have a Facebook Page made and have created a Business Manager with an attached Ad Account. Haven’t done those yet? Look out for our next few blogs all about those topics.
Boosting Your Post
1. Go to your Facebook page.
2. Find the post you’d like to promote. In the bottom right corner of the post, there’s a button that says “Boost Post.” Helpful, right?
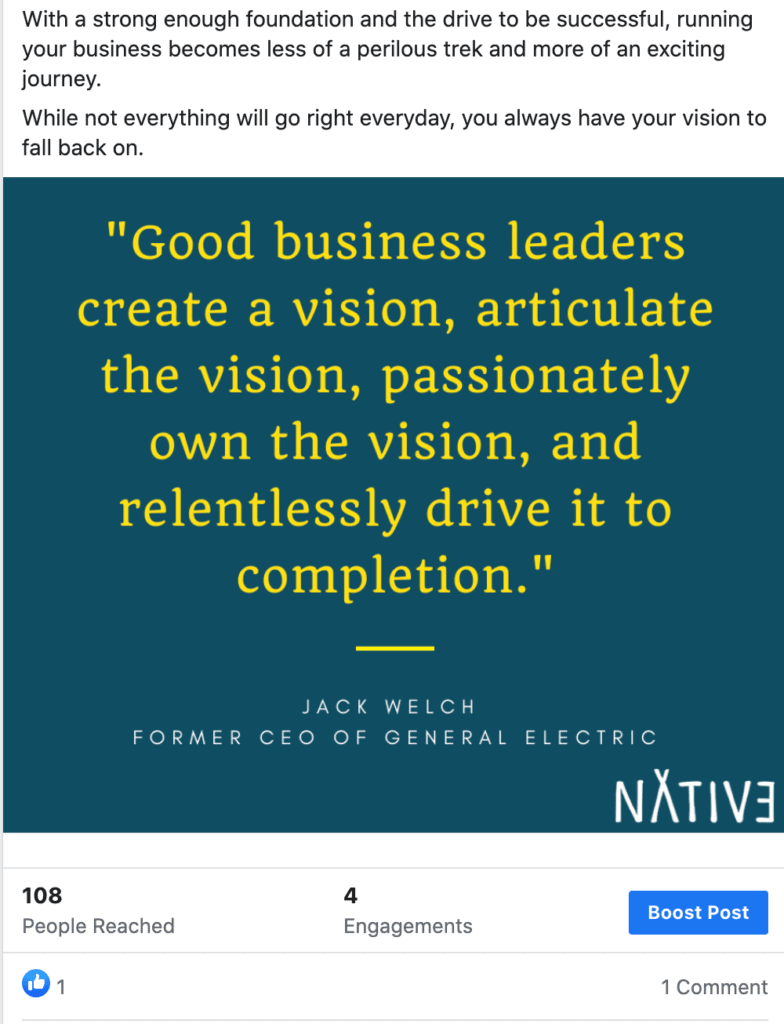
3. A new pop up will open and you can now design your “Boost” Like we said, “Boost” is basically just another word for “Ad,” except we’re creating it on the front end instead of through Ads Manager.
4. Pick an Objective, either “Get more people to react, comment, and share,” or “Connect and chat with potential customers.” This helps the algorithm optimize the people it promotes to. If your goal is to get the word out about a specific post, you’ll go for the Post Engagements Option. If you want customers to have a one-on-one conversation with you, choose “Messages.”
5. Something to note- if the post you’re promoting contains an image, make sure ii doesn’t have a burdensome amount of text. Facebook has a 20% Text Rule, which means that if there’s too much text in your image, Facebook won’t run the ad. So pick your images wisely. If there’s too much text, Facebook’s AI may detect it while you’re in the process of creating your boost and you’ll get a pop-up in the window warning you. On this warning is a toggle that gives you the option to appeal the warning. This is a great feature if your image contains text that is not pertinent, like words on a t-shirt or the label on a product. We always recommend appealing these.
6. Next, you’ll have the option to add a button to your post. This is basically a built-in Call to Action that pushes your audience to take a certain step from the list offered by Facebook:
7. Facebook will ask about Special Ad Category, which you can ignore unless you are in Real Estate, in which case you have got bigger problems.
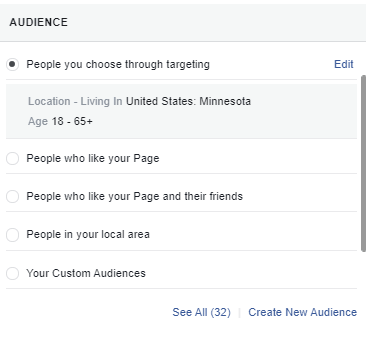
8. The Audience section is all about targeting. This is probably the most complex part (partially because the Boosting portal is so small!) but fortunately it is also pretty intuitive. There are three ways to do your targeting:
- Relationally: Target people based on their relationship with your page. This is a good way to reach existing customers or friends of existing customers.
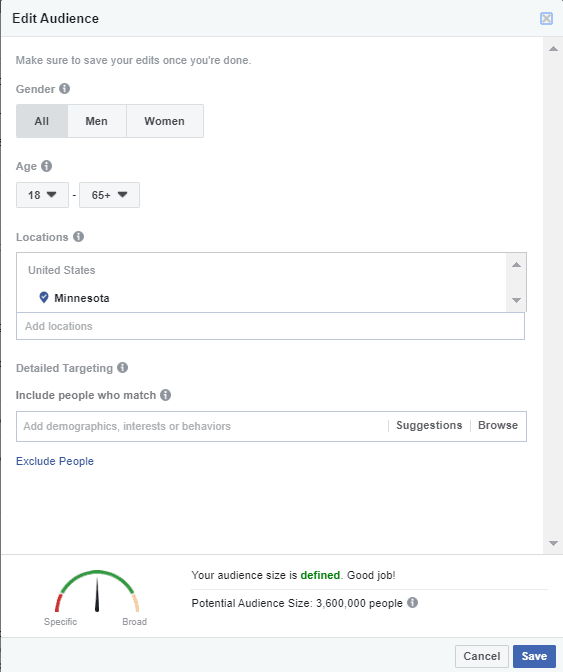
- New Audiences: To do this, click on “Create New Audiences” and start filling out the information. You can input interests, age, gender, and location. If you have specific places to target, type in the name of the city or the zip code, or use the map function to drop a pin at the center of your service era. Watch the Red/Yellow/Green meter on your right to see how Facebook rates your targeting.
- Existing Audiences: If you like an audience, remember to save it! Then you can reuse it again by clicking on “Your Custom Audiences.” Do not let all that hard work go to waste.
9. Duration and Budget work together to determine how much money you’d like to spend on your boost and for how long. Put in your budget and then select the days you’d like it to run on the little calendar. It then divides that money equally across all the days and gives you a projection of your reach.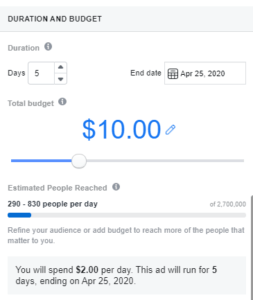
10. Under “Payment” is a drop down menu called “Account.” Make sure your account is selected to enable proper tracking and payment methods. If you only manage one account, you won’t have to worry about this.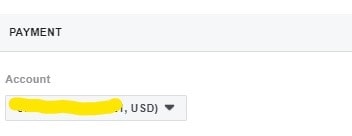
11. Click the blue Boost button and you’re good to go! Facebook may give you an immediate prompt to spend more, but they’re just being greedy. Ignore them.
And Now You’re Done!
Your post is now boosted and advertising your business to everyone you targeted! If you want to check the results, go the post you boosted and you’ll notice that there is now a little panel of information directly underneath it detailing the number of people reached. Click on “View Results” and a new pop up window will open with details on who you’re reaching, some of the top comments on your post, and the history of the boost. It will also likely ask you to “Boost again,” which is totally up to you.
Still have questions? Feel free to reach out to our 24/7 Digital Hotline and we’ll find you the solution that’s right for you and your business’ needs.