Facebook Marketing 101: How to Create an Ad Account

The best things in life are free… Unless you’re a small business trying to get the word out about your fine assortment of products and services on Facebook. A couple of weeks ago, we gave an easy tutorial on creating your business account. Once you’ve verified yourself as the real deal, you unlock an entire toolbox of advertising options to help you make your brand top-of-mind and talk of the town.
But, first, you’ll need to create a dedicated ad account that gives you a number of options for budget, design, and reach that simply writing a regular old status update doesn’t even come close to. If you need some help getting started, you’re in luck! We put together our handy-dandy 7 step guide to help you create your Facebook ad account.
7 Steps to Create Your Facebook Ad Account
- Navigate over to Facebook’s native Ad Manager from your business account. You can use our link, or you can go through the top toolbar on your Facebook page, as shown in the image below:
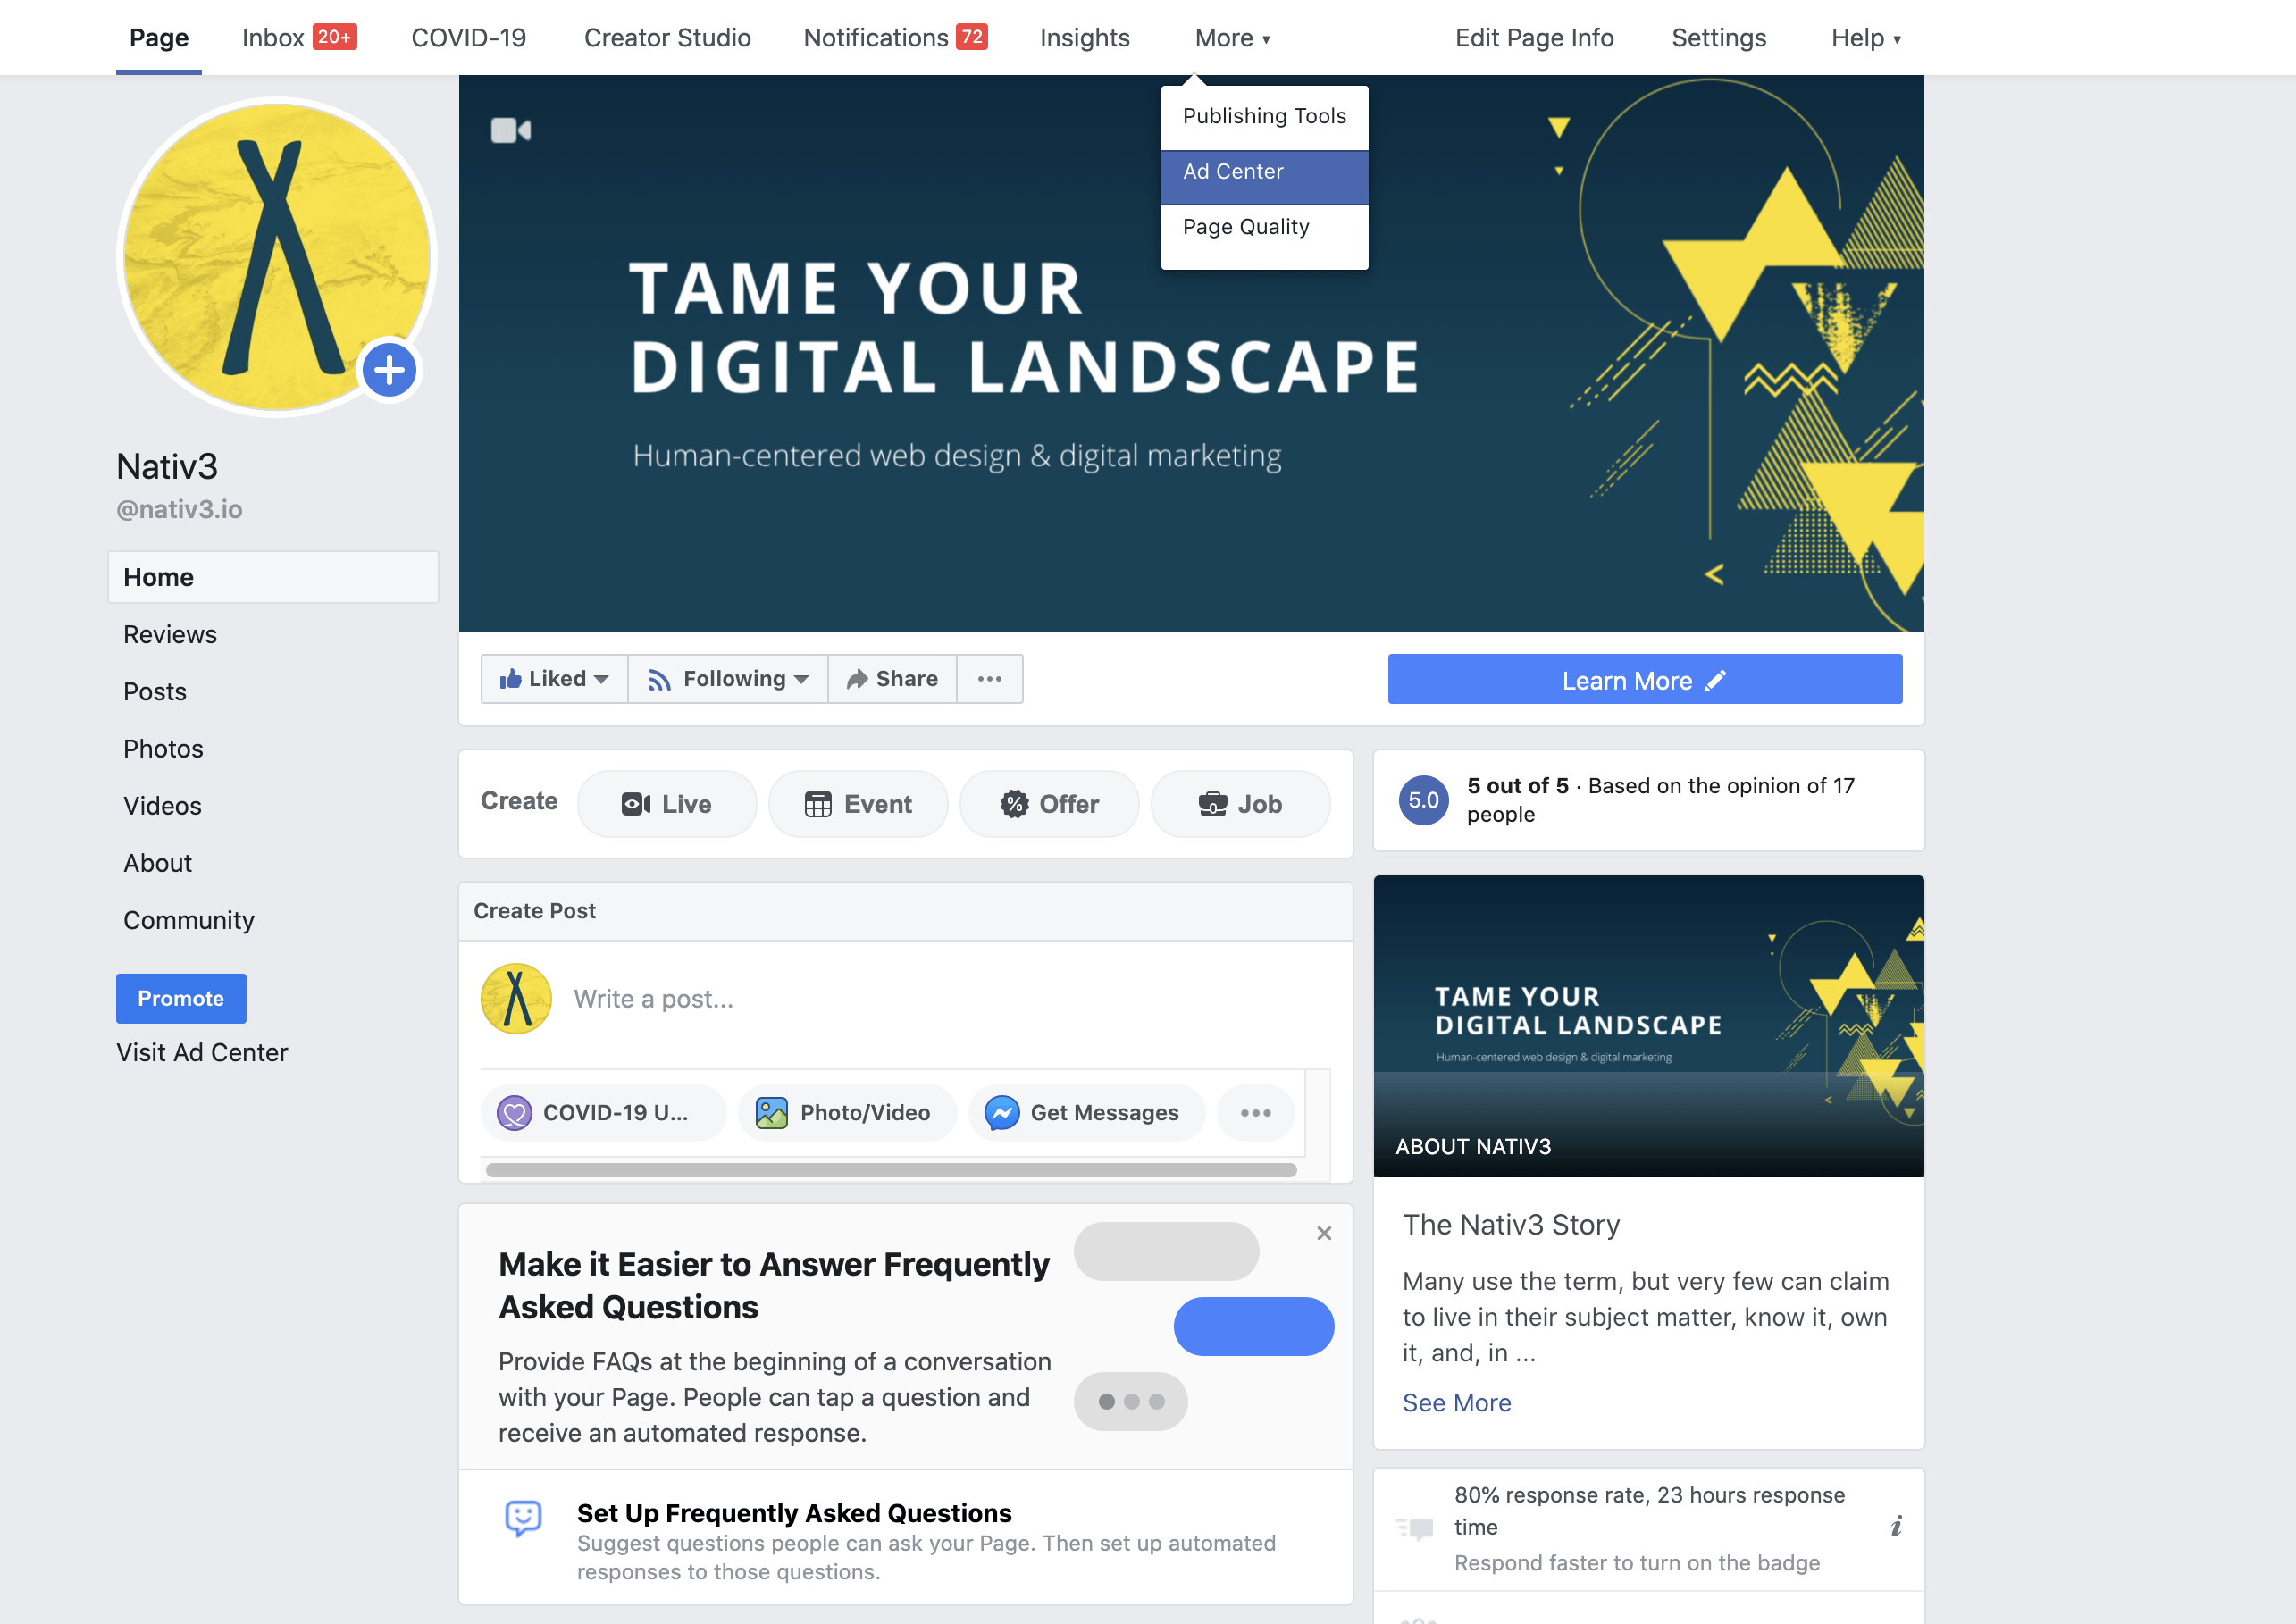
Then, hit the blue “Create Ad” button in the top left corner.

2. Because this is your first time accessing your ad account, you’ll need to confirm a few settings to get started. Just ensure that your business name, time zone, and currency are correct.
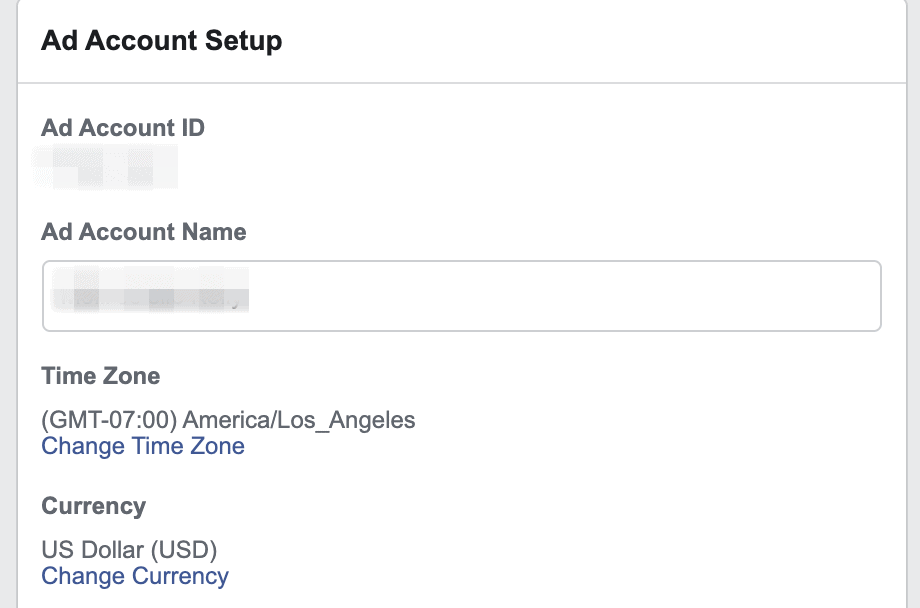
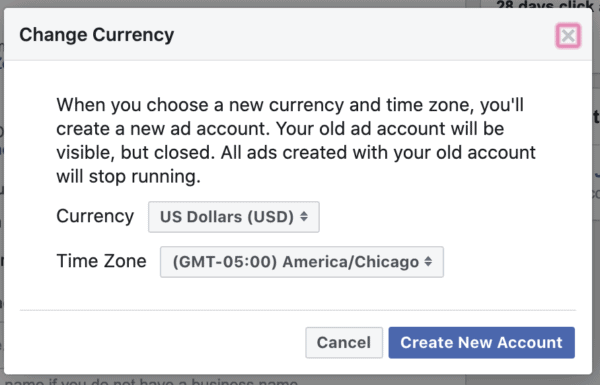
To make changes, simply select the correct options from the drop-down menu.
If you ever need to change these settings, you can access them again from the main page of your ad manager account.
3. Within the settings menu, you’ll need to add in the information about why you’re purchasing ads (you’ll likely choose the “Yes, I am buying ads for business purposes option), as well as enter your basic business information, including name, address, country, and tax ID number. This data is necessary in case there are restrictions regarding advertising in the country in which you are publishing ads.
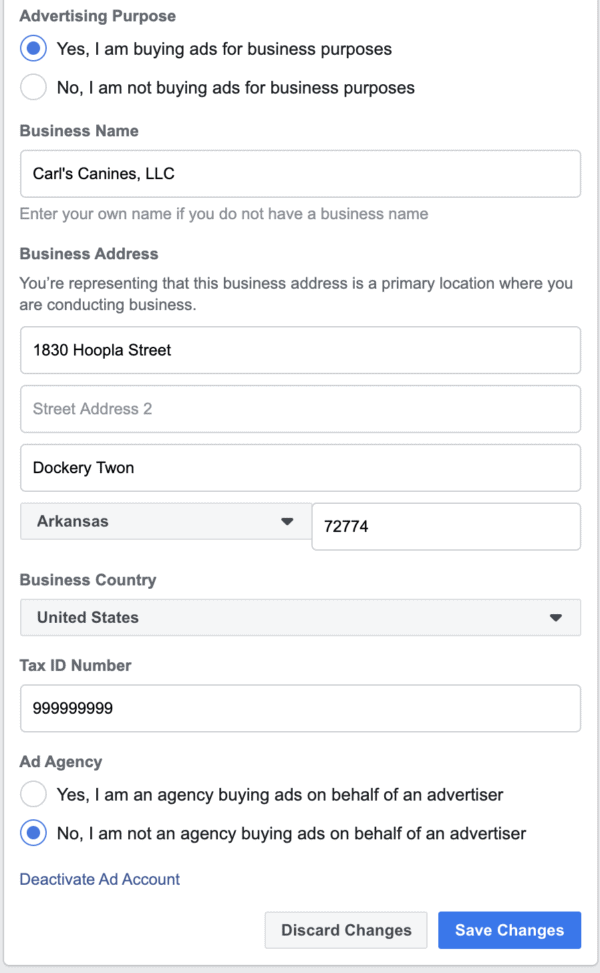
Be sure to hit “Save Changes” before you navigate away!
4. Add in your payment settings from the menu item on the left-hand side.
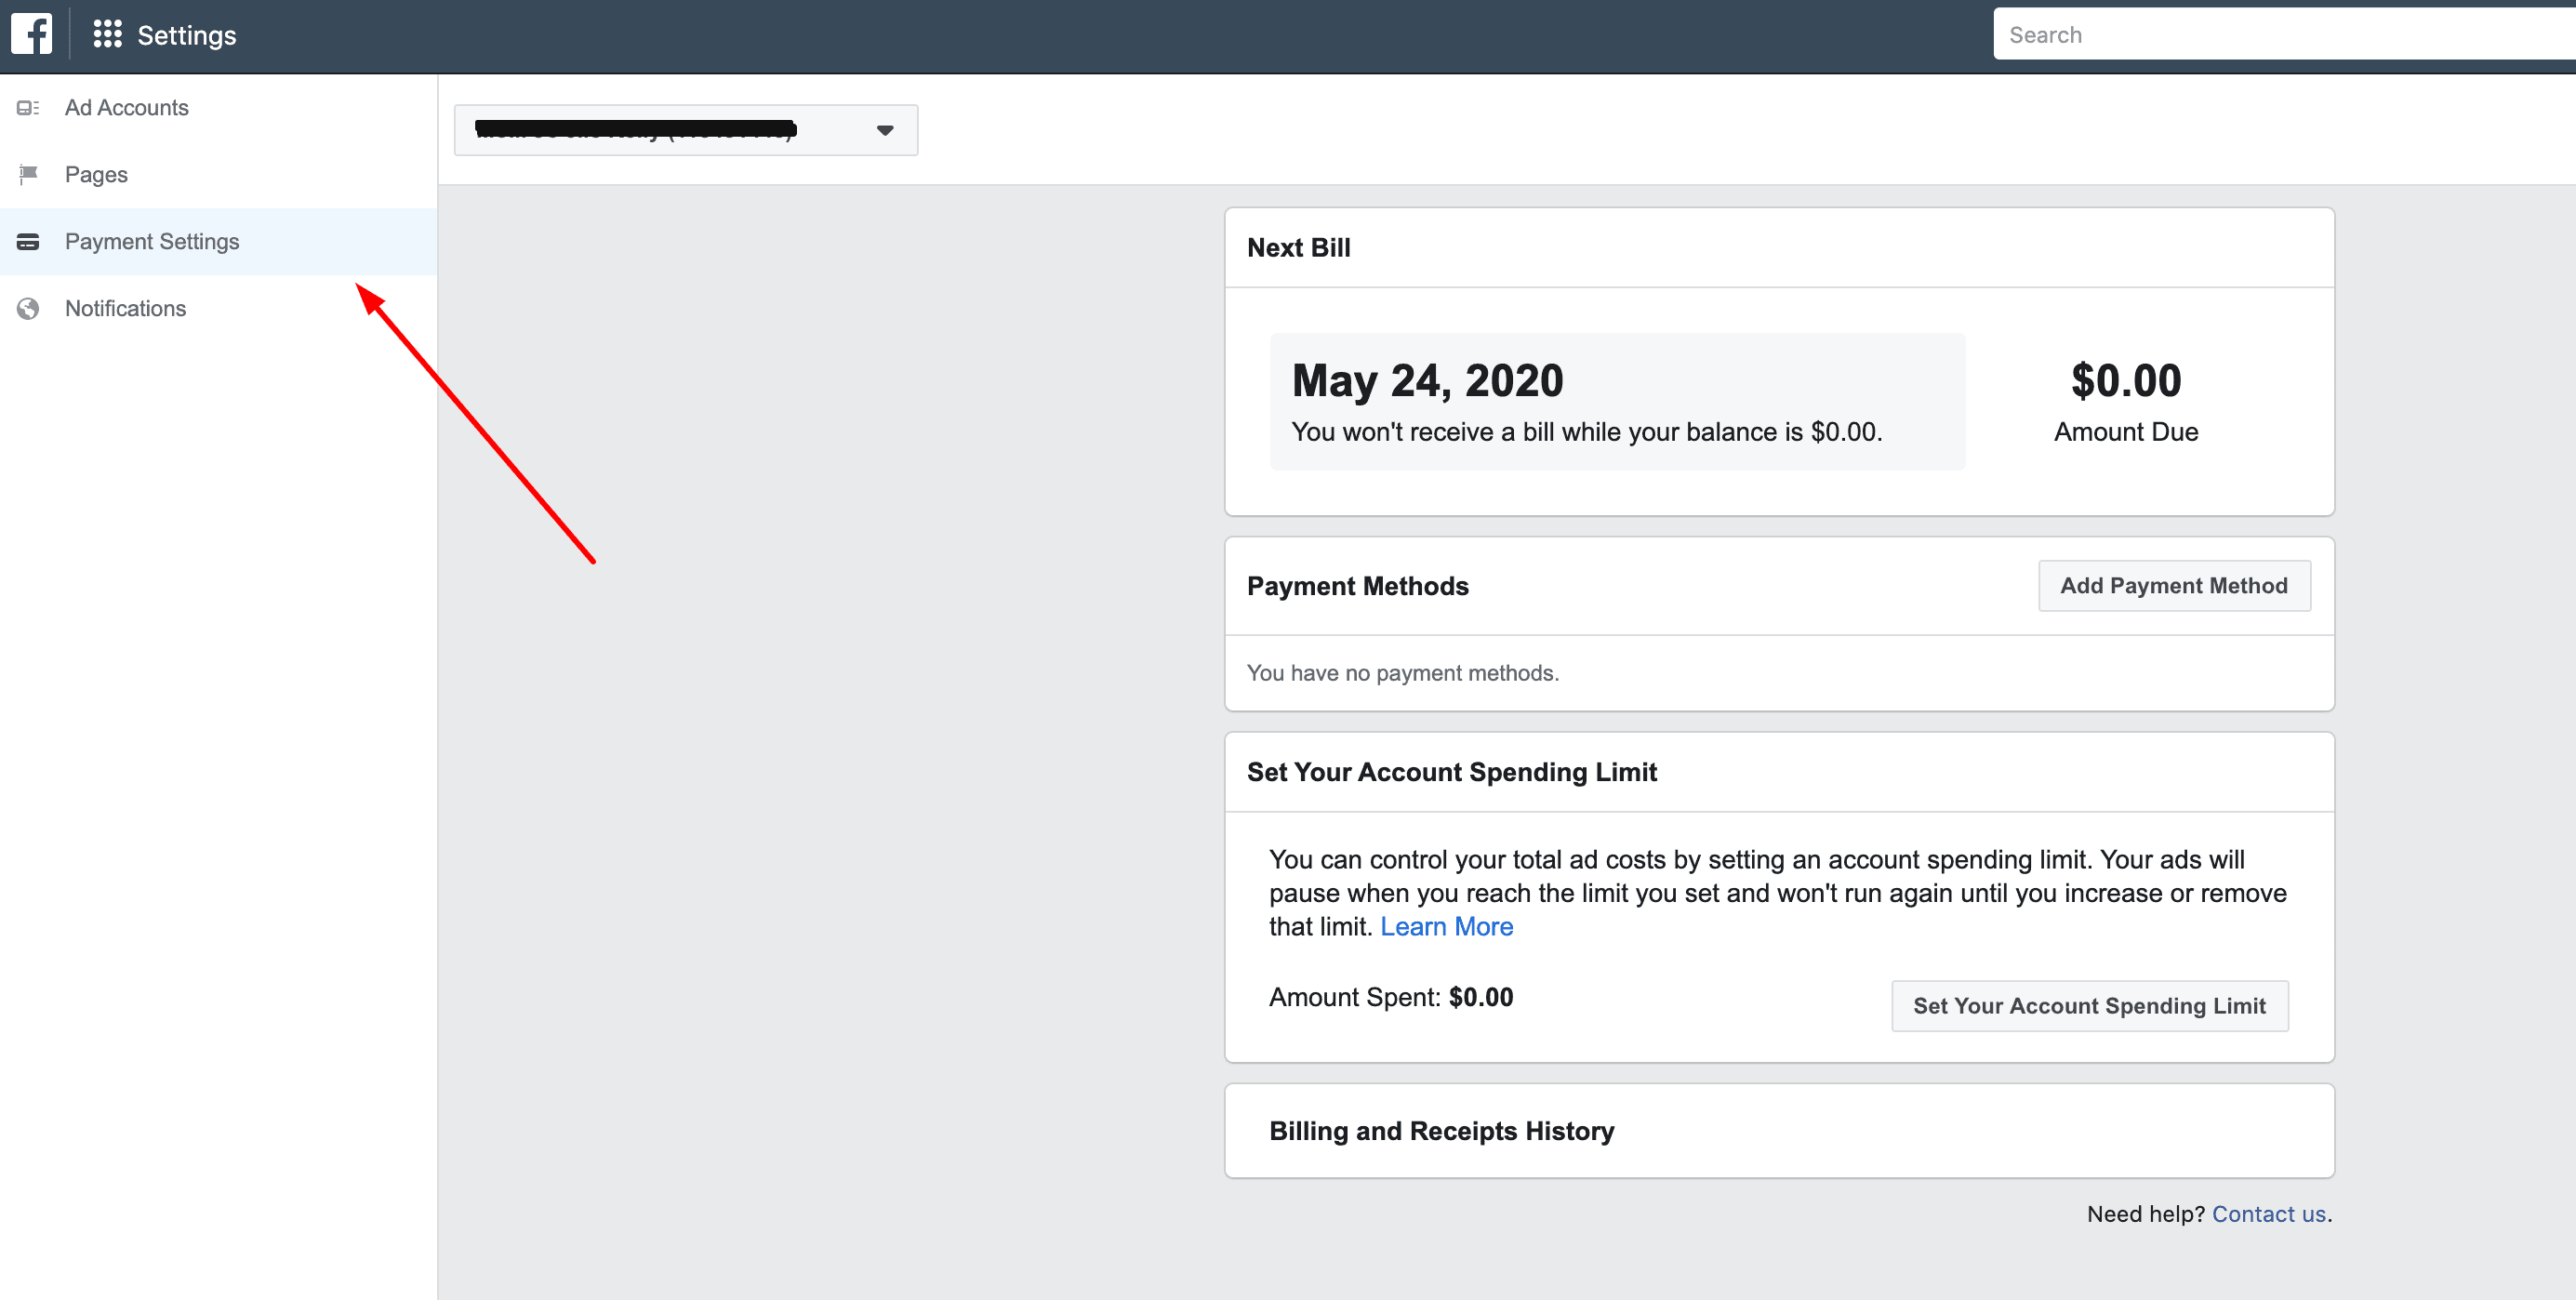
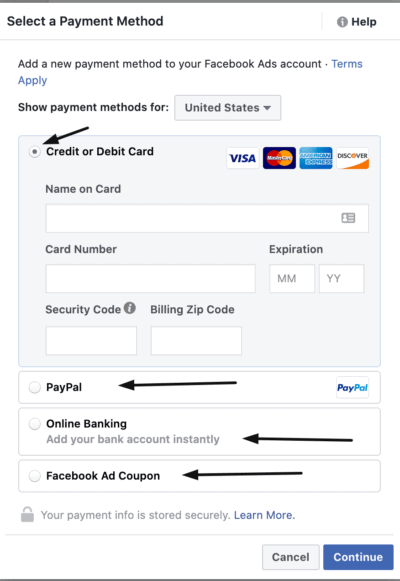
Start by adding your payment method. You have several options, including credit/debit card, PayPal, online banking, or a Facebook ad coupon. By default, the method that you choose within these settings is the one that will automatically be charged when you spend ad dollars.
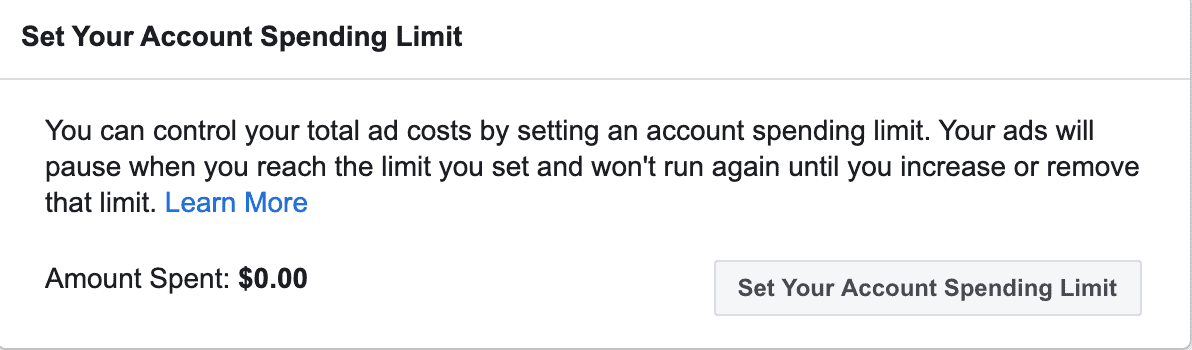
Next, you’ll set your account spending limit. This allow you to set an upper limit on the amount of money you spend on advertising. Once that limit is reached, Facebook will stop running the ads until you increase or remove your limit. This allows you to keep control of your marketing budget without worrying about any unexpected charges.
Creating Your First Ad
Steps 5-7 are less about creating your account (wasn’t that easy?!) and more about creating your first ad. We’re going to break it down to the very basic elements, but you can check out our full guide, complete with definitions and explanations, here.
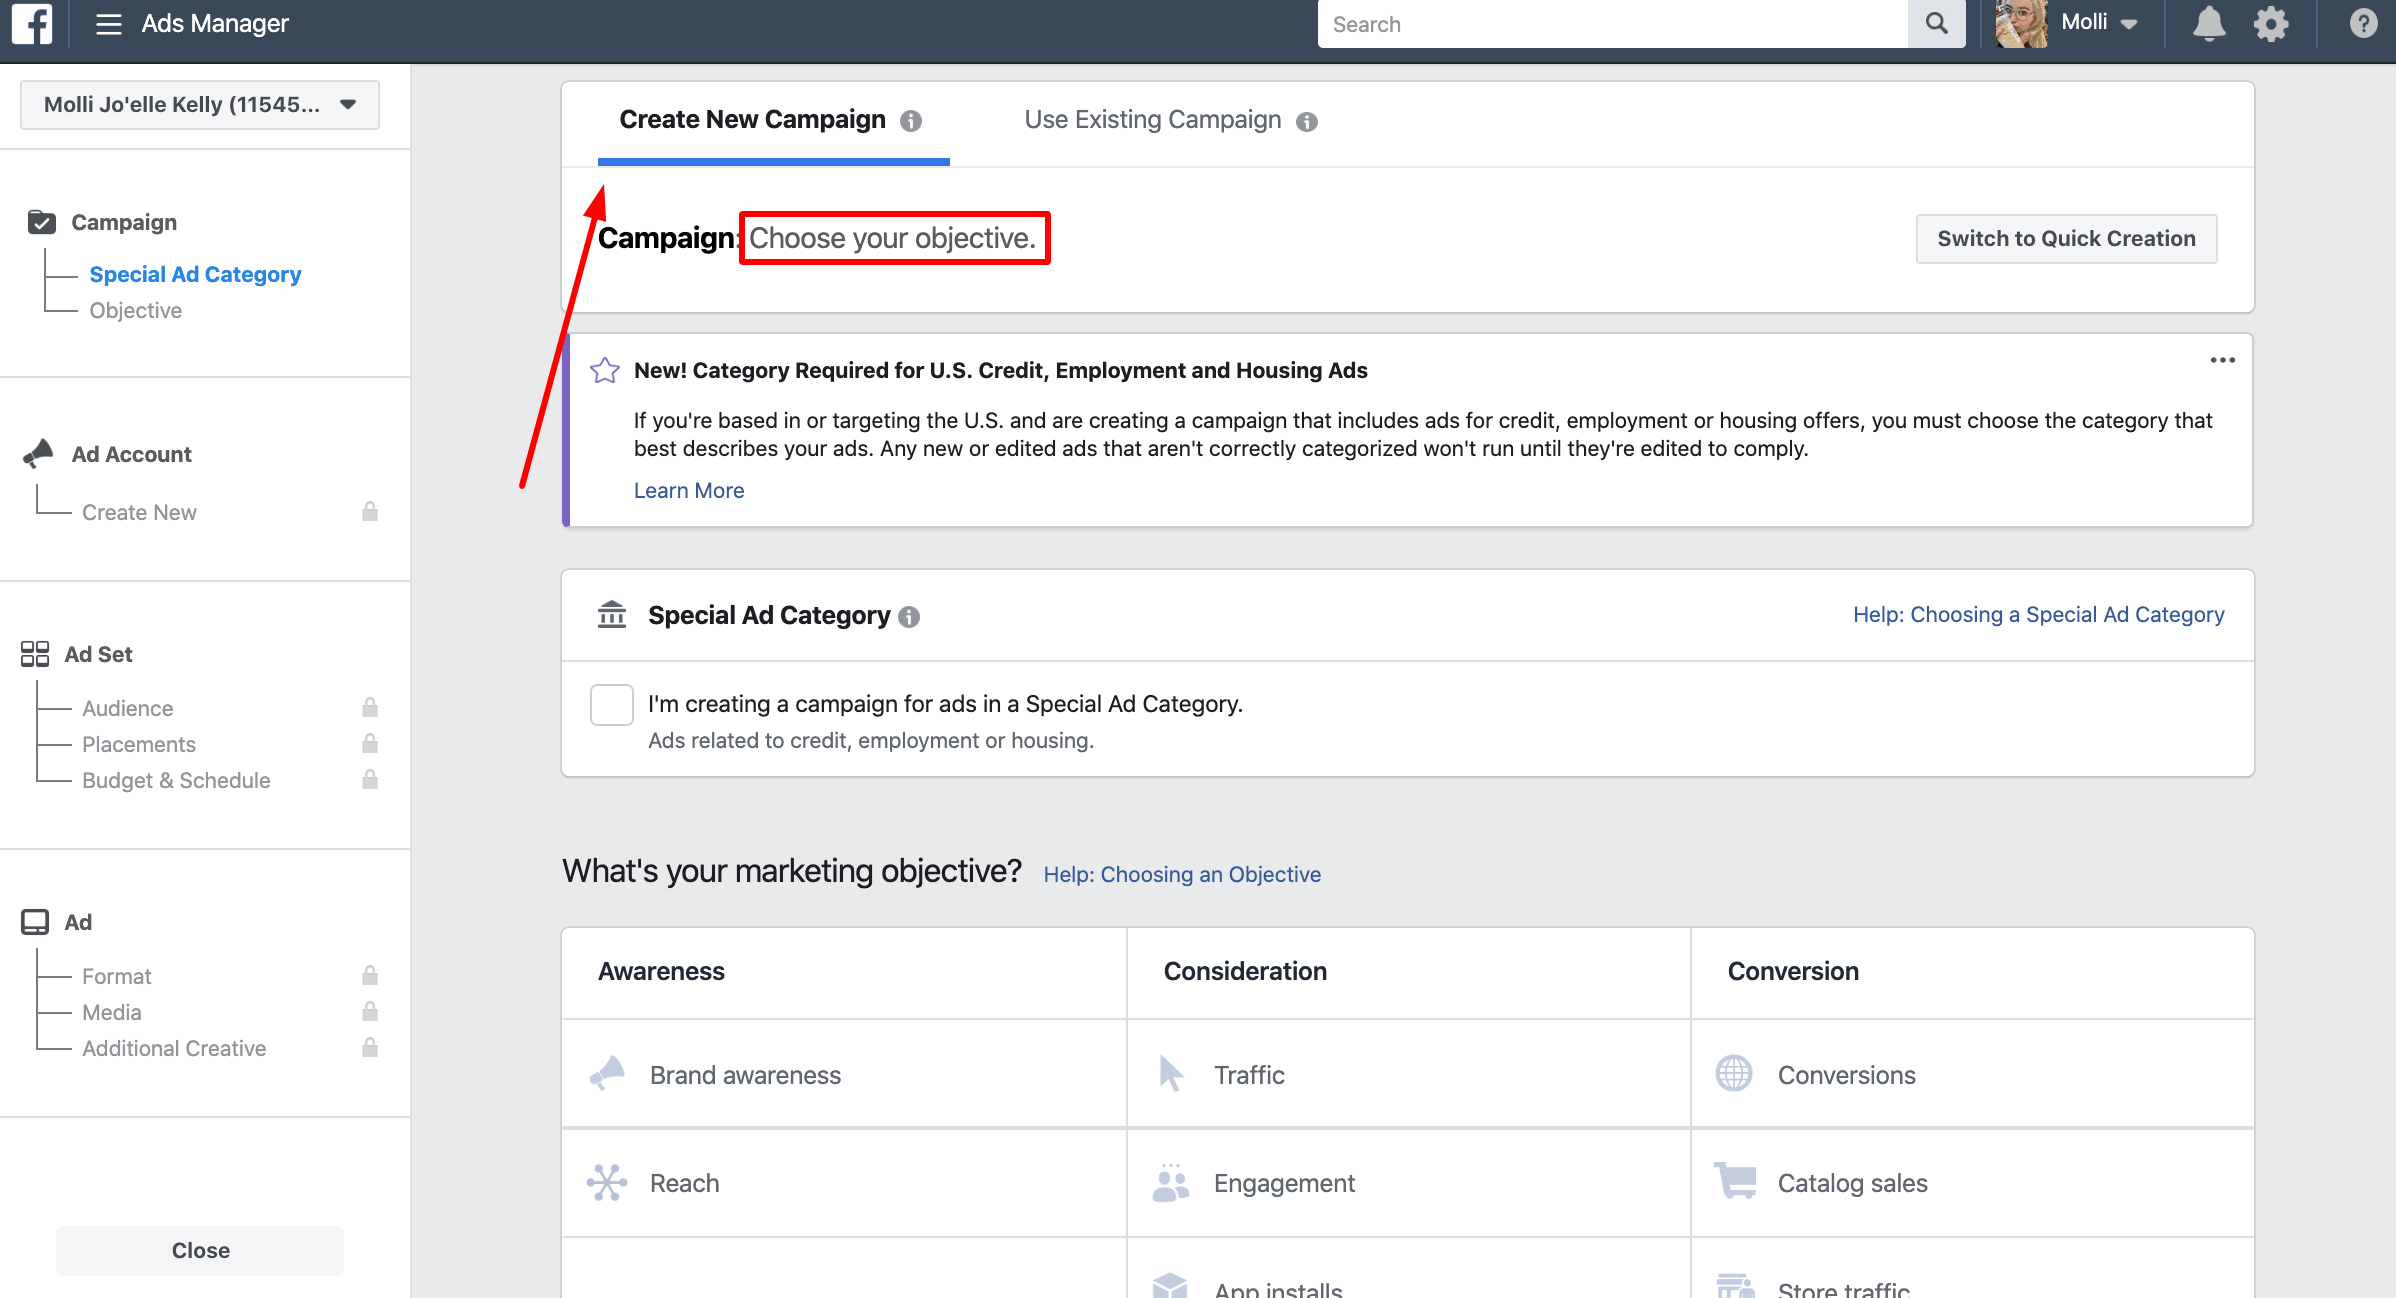
5. Choose your objective, audience, and budget.
Your objective is the goal you want to accomplish through your advertising campaign. Options include:
- Brand awareness
- Reach
- Traffic
- Engagement
- App installs
- Video views
- Lead generation
- Messages
- Conversions
- Catalog sales
- Store traffic
Next, you’ll need to design the ideal audience for your marketing. Ad manager lets you choose the demographics that are most likely to see your advertising, AKA the people who you’ve pinpointed as interested in your product. There are truly dozens of highly-targeted options, but major players include:
- Location
- Age
- Gender
- Languages
- Relationship
- Education
- Work
- Financials
- Home
- Ethnic Affinity
- Generation
- Parents
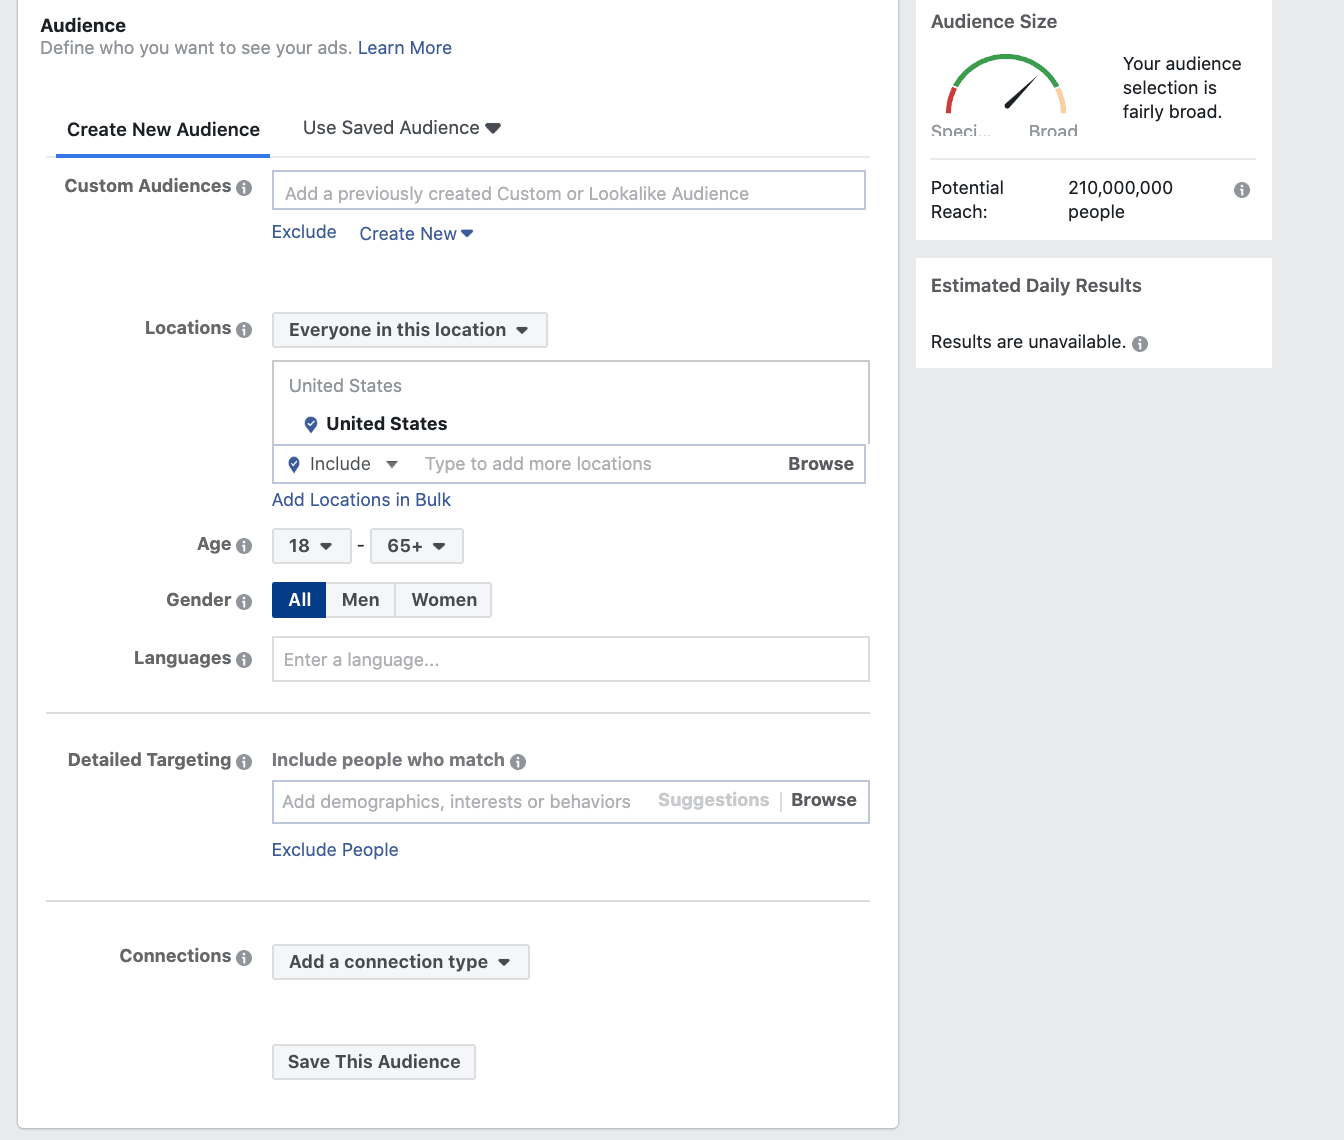 Finally, you’ll set your budget for this particular ad. It plays a part of the larger advertising budget limit you set earlier, which is a combination of the budget for all of your currently running ads.
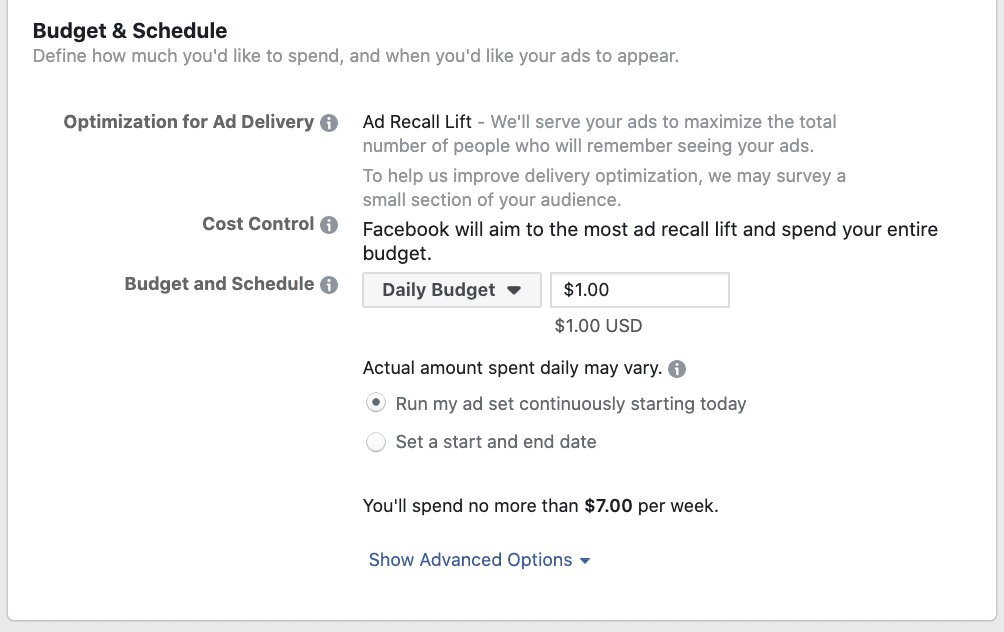
6. Schedule out your ads. You can be as specific as choosing the exact hours that you want them to show up in the newsfeeds of your chosen audience.
According to Hubspot, the best time to post is on Thursdays and Fridays from 1:00 pm to 3:00 pm. CoSchedule says it’s 1:00 pm to 4:00 pm Thursday-Sunday. The best way to decide for yourself is to try a few different days and hours combinations until you find the one that’s returning the best results.
Finally, choose how you want your ad to appear. Again, there are tons of options available that we go into great detail over in the aforementioned post, but very basically, you’ll choose between:
- Link ads, which appear as a single page with a Call to Action button for your audience to click.

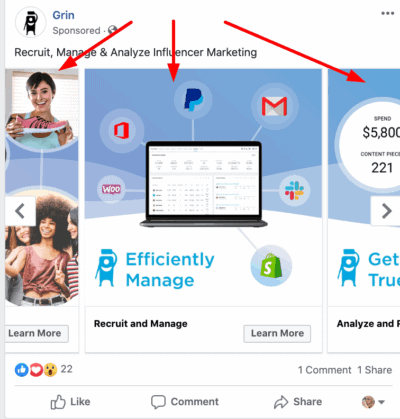
- Carousel ads, which also include a call to action, along with 5 additional images.
Ready, Set, Market!
We hope that our guide helped you set up your ad account, but marketing is not a “set it and forget it” strategy. Once you’ve run your first few ads, monitored your data, and drawn conclusions about what is performing best, you need to adjust your strategy accordingly. Don’t expect instant results, but don’t be afraid to fail forward, either. It takes practice!
If you’d like a little more help getting started, you can reach out to our 24/7 Digital Hotline.
We can help you with every step along the way, from initial setup to campaign success.